
How to Build a Diploma Picture Frame
Steps
1) Choose wood
2) Cut wood
3) Arrange wood pieces
4) Trim wood pieces
5) Attach wood pieces
6) Add finish to wood
7) Add glass and backboard
8) Add diploma
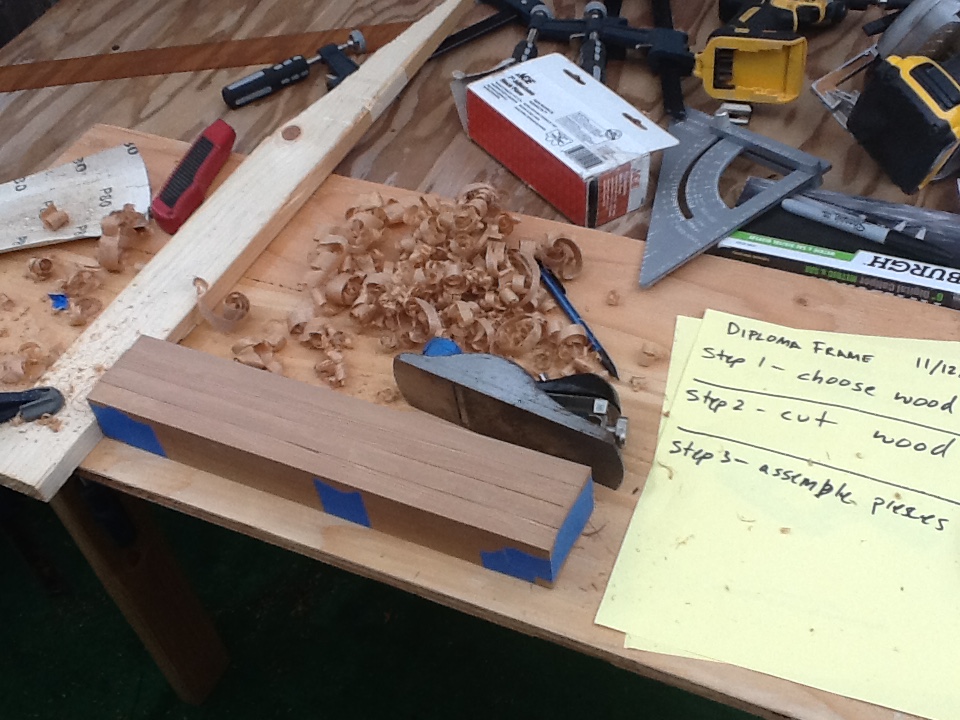
 Step 1:
Choose Wood
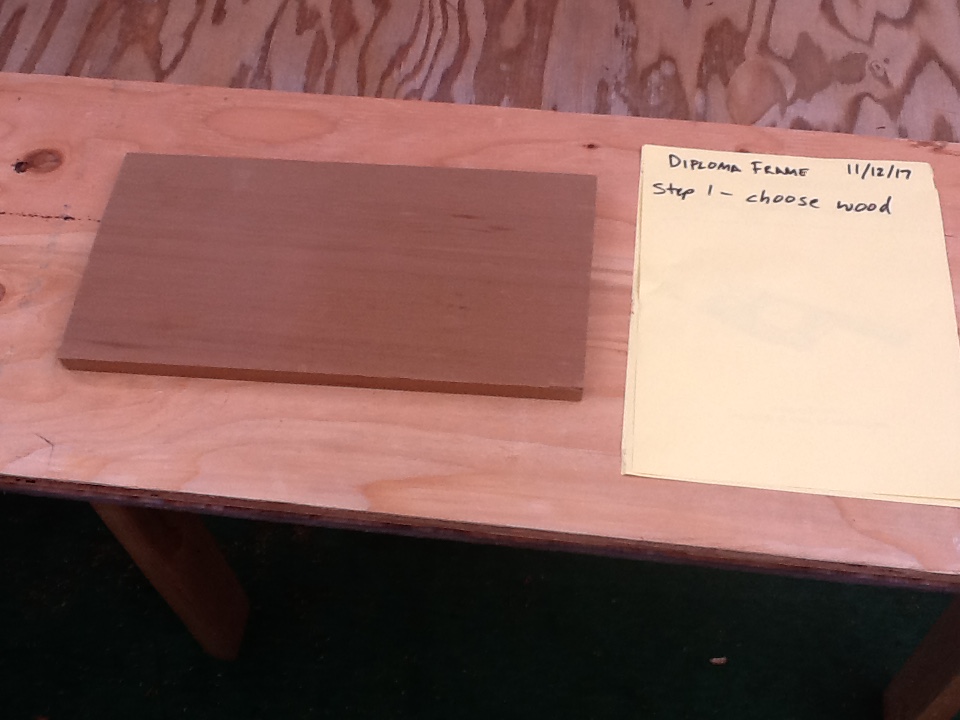
Step 1:
Choose WoodChoose a piece of wood for your diploma picture frame. I choose Western Red Cedar because that is what I had lying around my workshop.
Step 2: Cut Wood
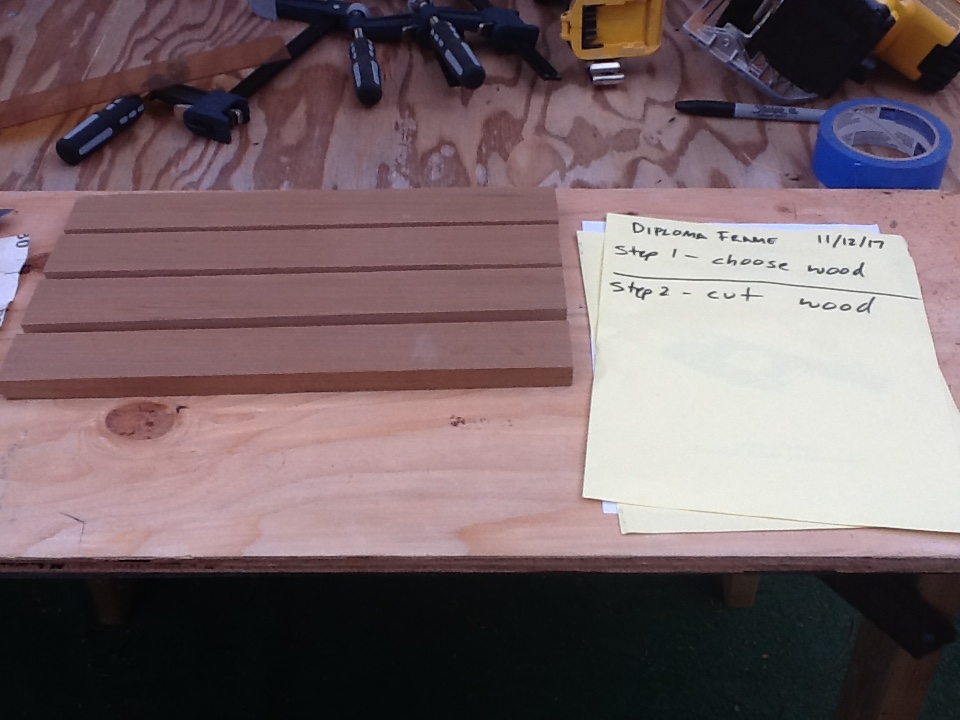
Next, cut wood into 4 equal sections.
Step 3: Arrange wood pieces
After the wood pieces are cut into equal lengths, arrange them how you would like the finished project to look.
Step 4: Trim wood pieces
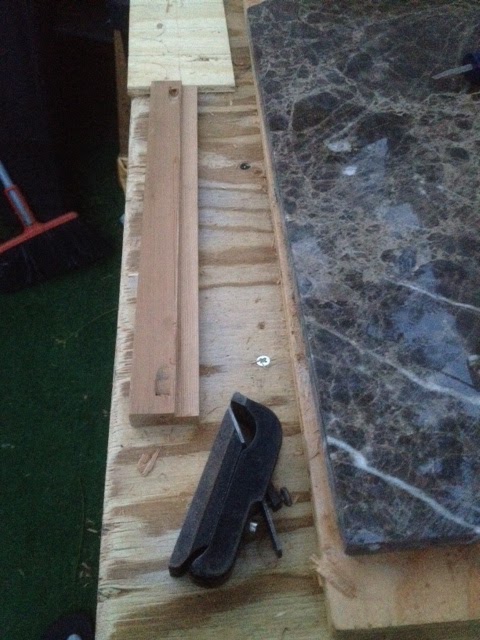
Shave the pieces of wood so they are flat on all edges and make a groove on the back edge to hold the plexiglass and backboard.
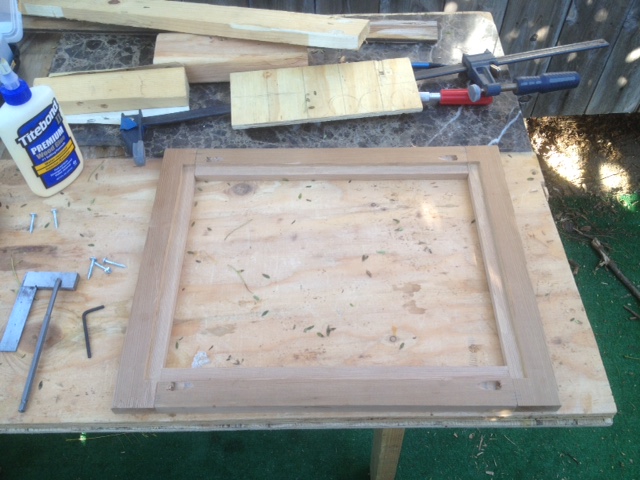
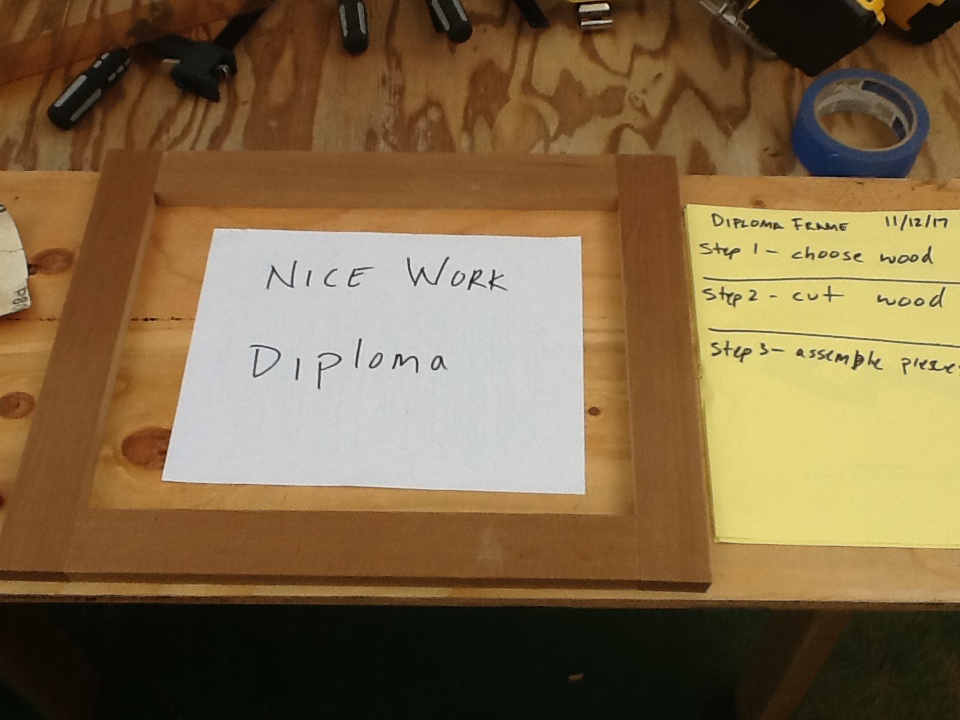
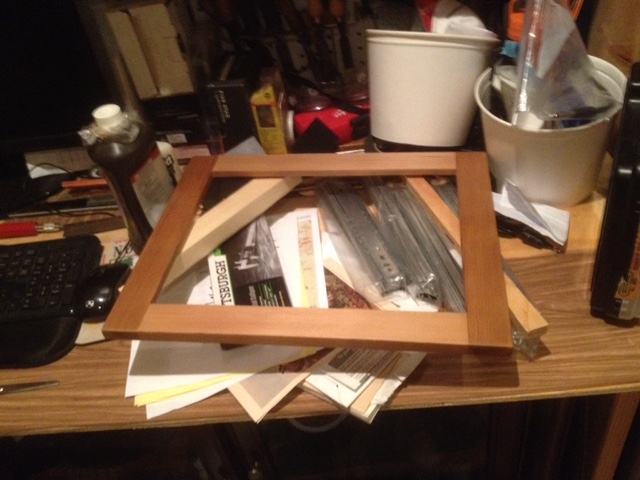
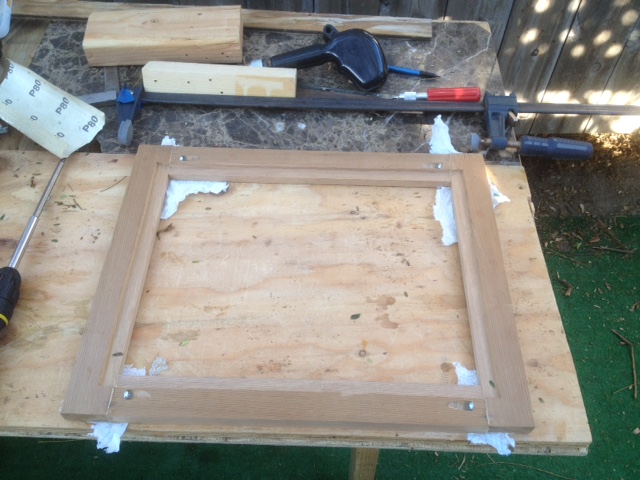 Dry fit all the pieces, then glue and screw the wood pieces together.
Step 6: Add finish to wood
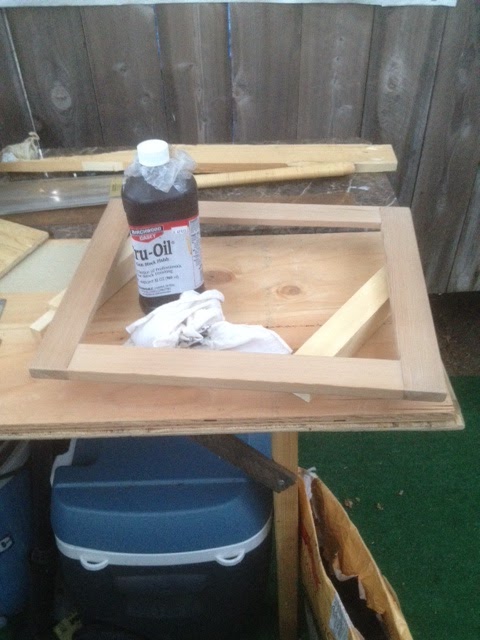
 I am using an oil based finish to my frame, but feel free to use alternative finishes if you like.
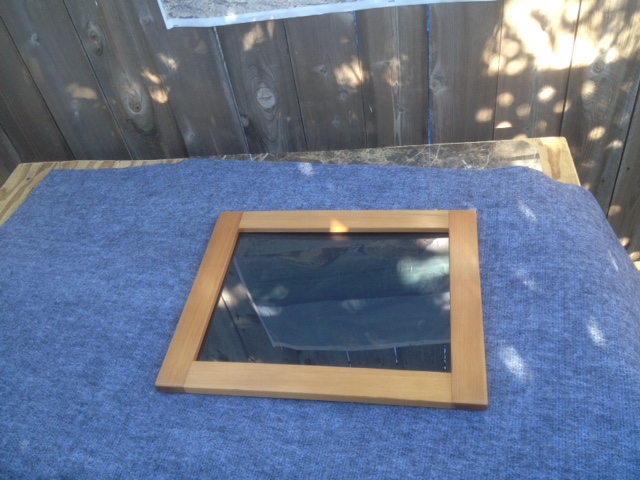
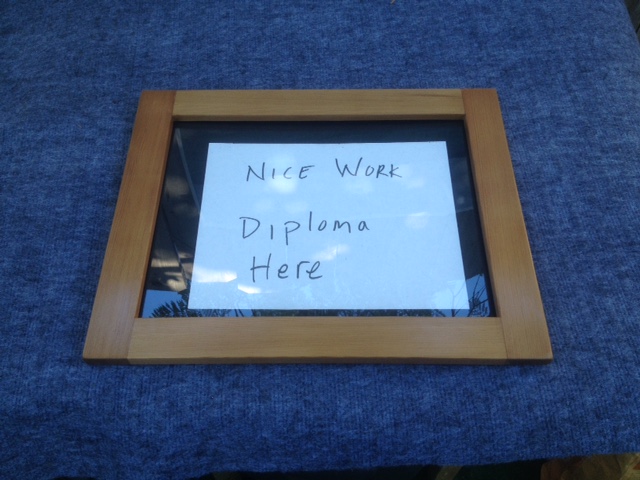
Step 7: Add backboard and plexiglass
Step 8: Add Diploma to frame
