
Friday, November 3, 2023
Thursday, January 11, 2018
Millennium Falcon Bass - The Force Awakens #12

This bass was fabricated from an Ibanez Iceman ICB200 Bass and The Force Awakens Battle Action Millennium Falcon by Hasbro.
The Ibanez bass has some good reviews, so I thought it was a good starting point. You can read more about the bass from Guitar Center and from Musician's Friend.
The Hasbro Falcon had dimensions I could work with so it made it the prime toy to chop up...
Enjoy the construction pics...


Saturday, November 25, 2017
Diploma Picture Frame
How to Build a Diploma Picture Frame

Steps
1) Choose wood
2) Cut wood
3) Arrange wood pieces
4) Trim wood pieces
5) Attach wood pieces
6) Add finish to wood
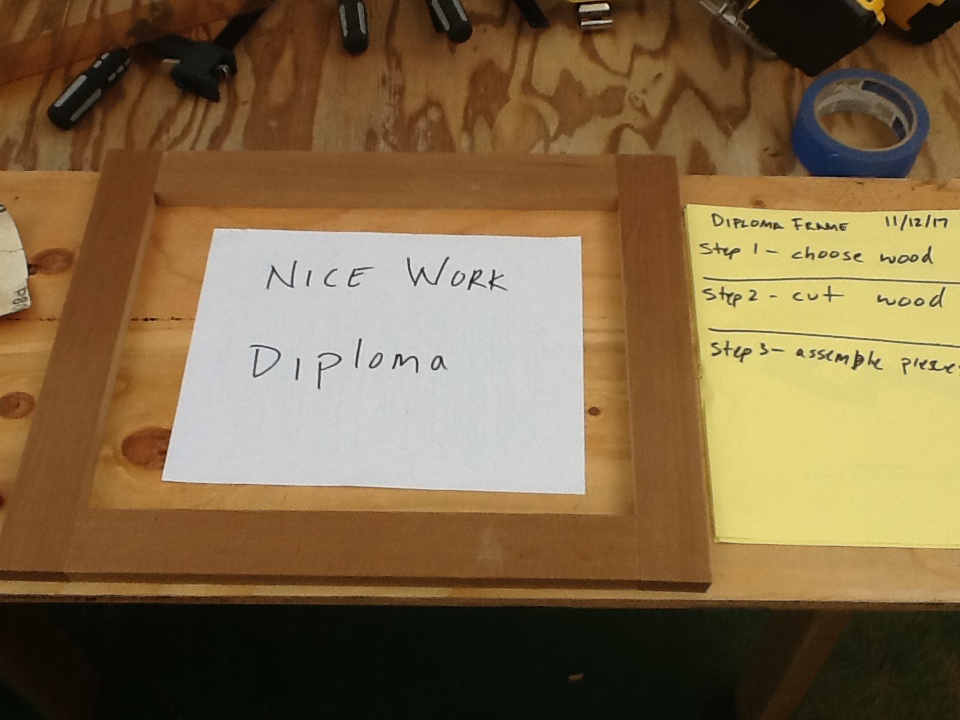
7) Add glass and backboard
8) Add diploma
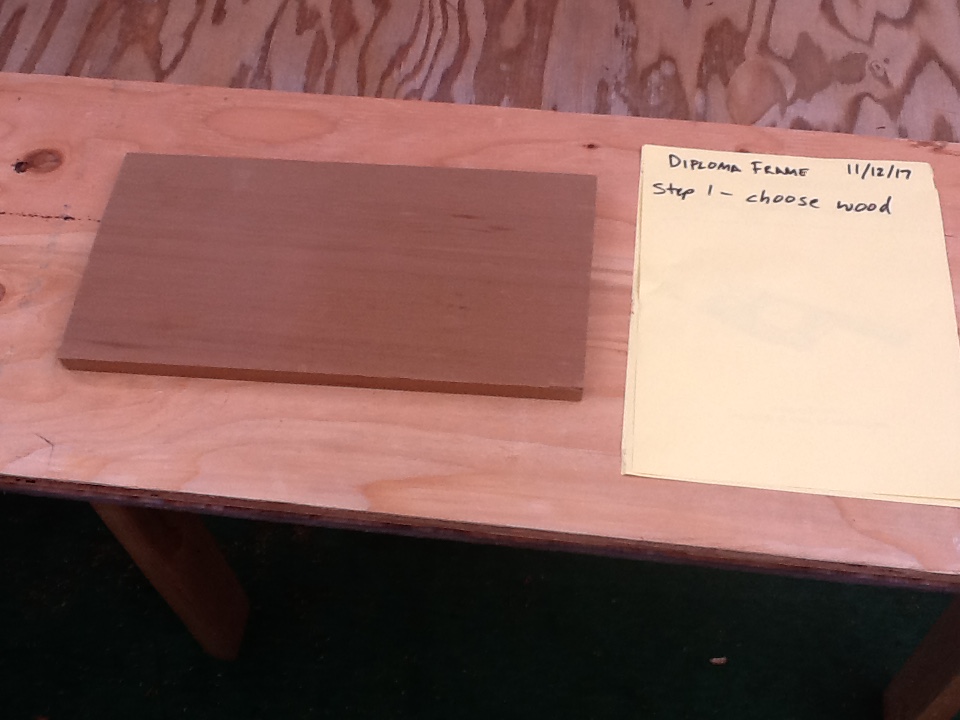 Step 1:
Choose Wood
Step 1:
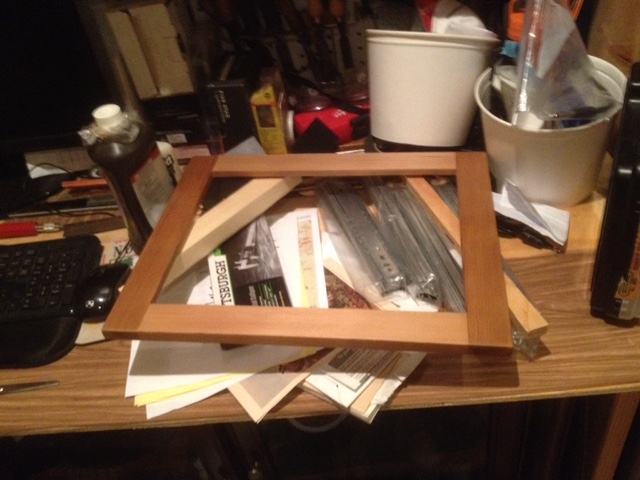
Choose WoodChoose a piece of wood for your diploma picture frame. I choose Western Red Cedar because that is what I had lying around my workshop.
Step 2: Cut Wood
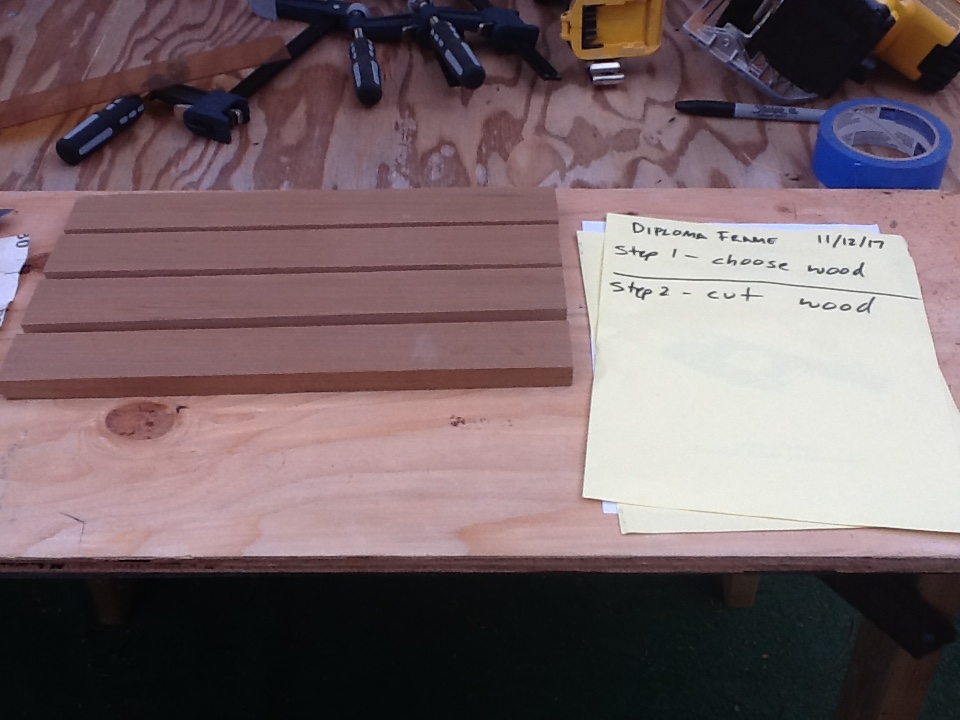
Next, cut wood into 4 equal sections.
Step 3: Arrange wood pieces
After the wood pieces are cut into equal lengths, arrange them how you would like the finished project to look.
Step 4: Trim wood pieces
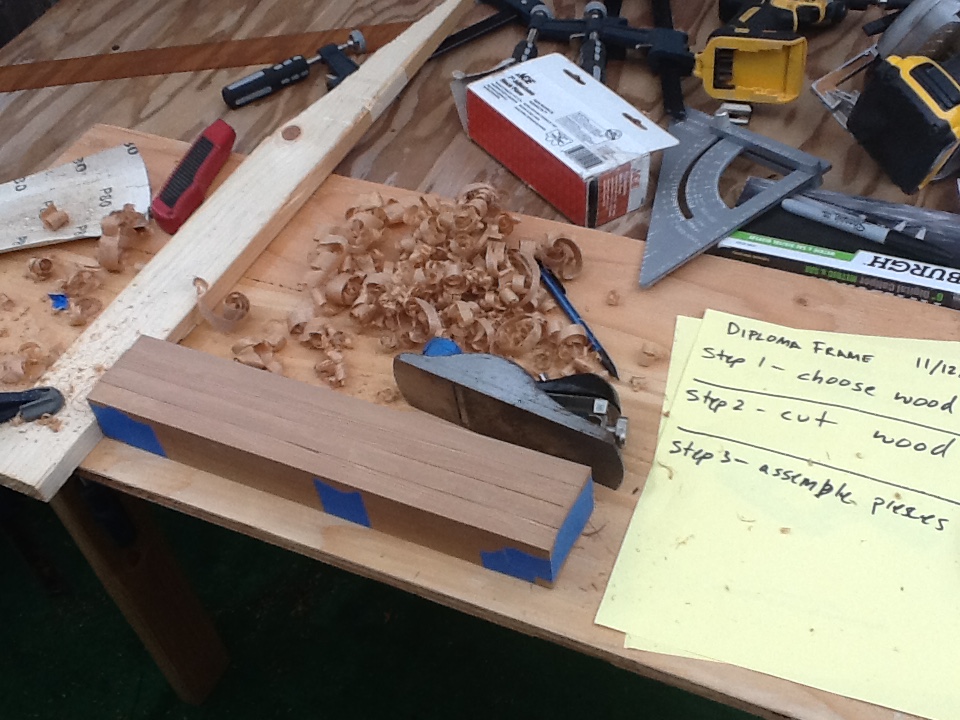
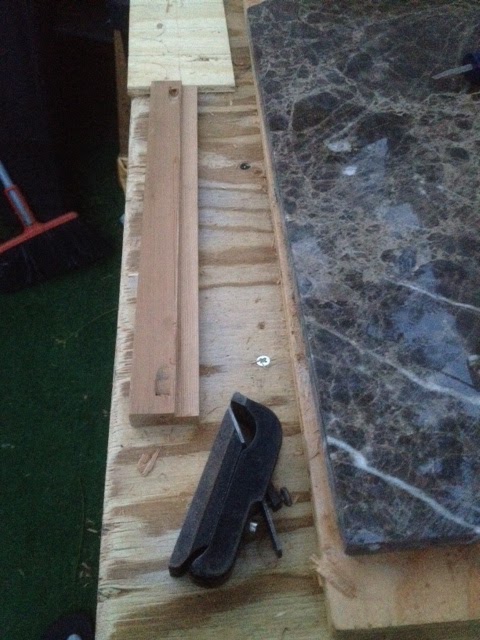
Shave the pieces of wood so they are flat on all edges and make a groove on the back edge to hold the plexiglass and backboard.
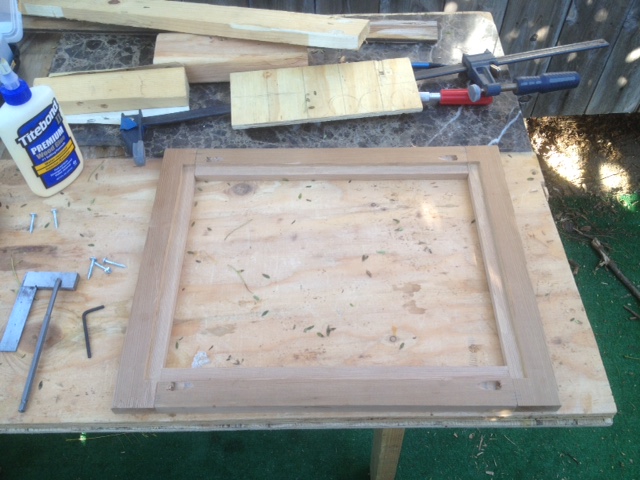
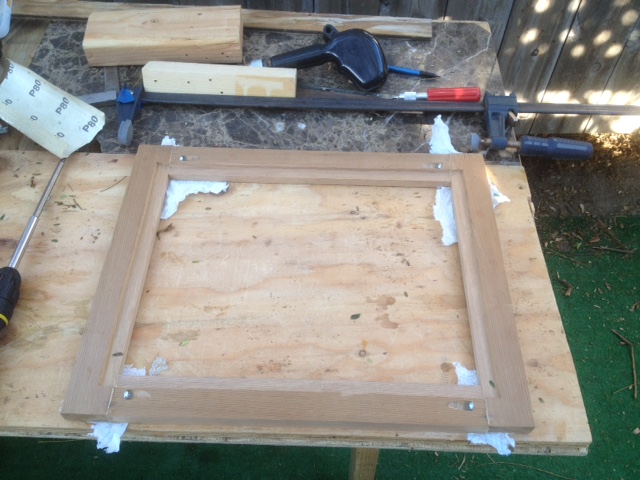 Dry fit all the pieces, then glue and screw the wood pieces together.
Step 6: Add finish to wood
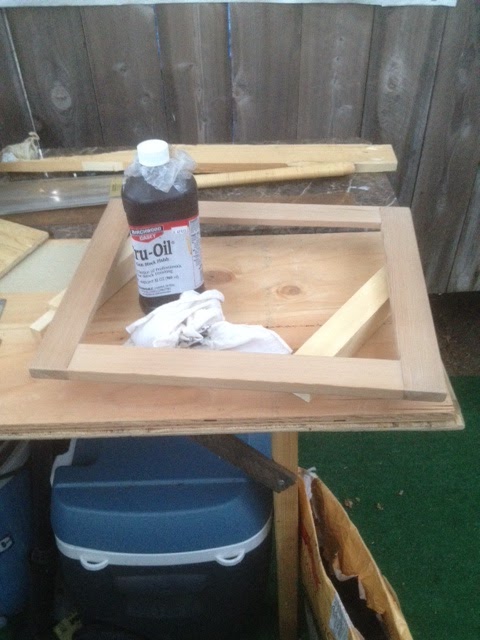
 I am using an oil based finish to my frame, but feel free to use alternative finishes if you like.
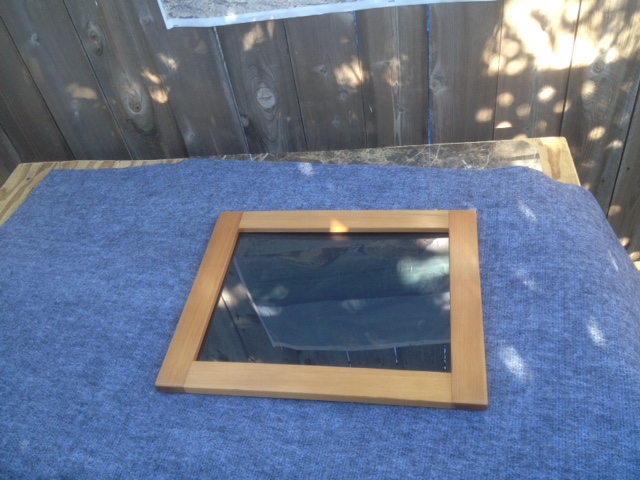
Step 7: Add backboard and plexiglass
Step 8: Add Diploma to frame
Monday, March 6, 2017

Friday, June 20, 2014
Trimming the excess off the top and back


...the back...


Next up..... Glue frets to fret board and glue fret board to neck.
Friday, June 13, 2014
Attaching back to "box up" the tenor guitar

Once the bottom kerfing is measured and dry fit....


Note: With the taper of the sides there was a divot at both ends of the tenor guitar, so I had to pay extra attention to leveling these sections so it blended evenly with the rest of the side profile.


... this makes trimming the over hang of the top and back much easier.


Next up... trim the top and back overhang and cut the sound hole.....
Subscribe to:
Posts (Atom)
