Just a refresher on the kerfing....
Once the bottom kerfing is measured and dry fit....
... it is glued and clamped.
I notched out a section in the kerfing so the bracing stretches and touches the sides.
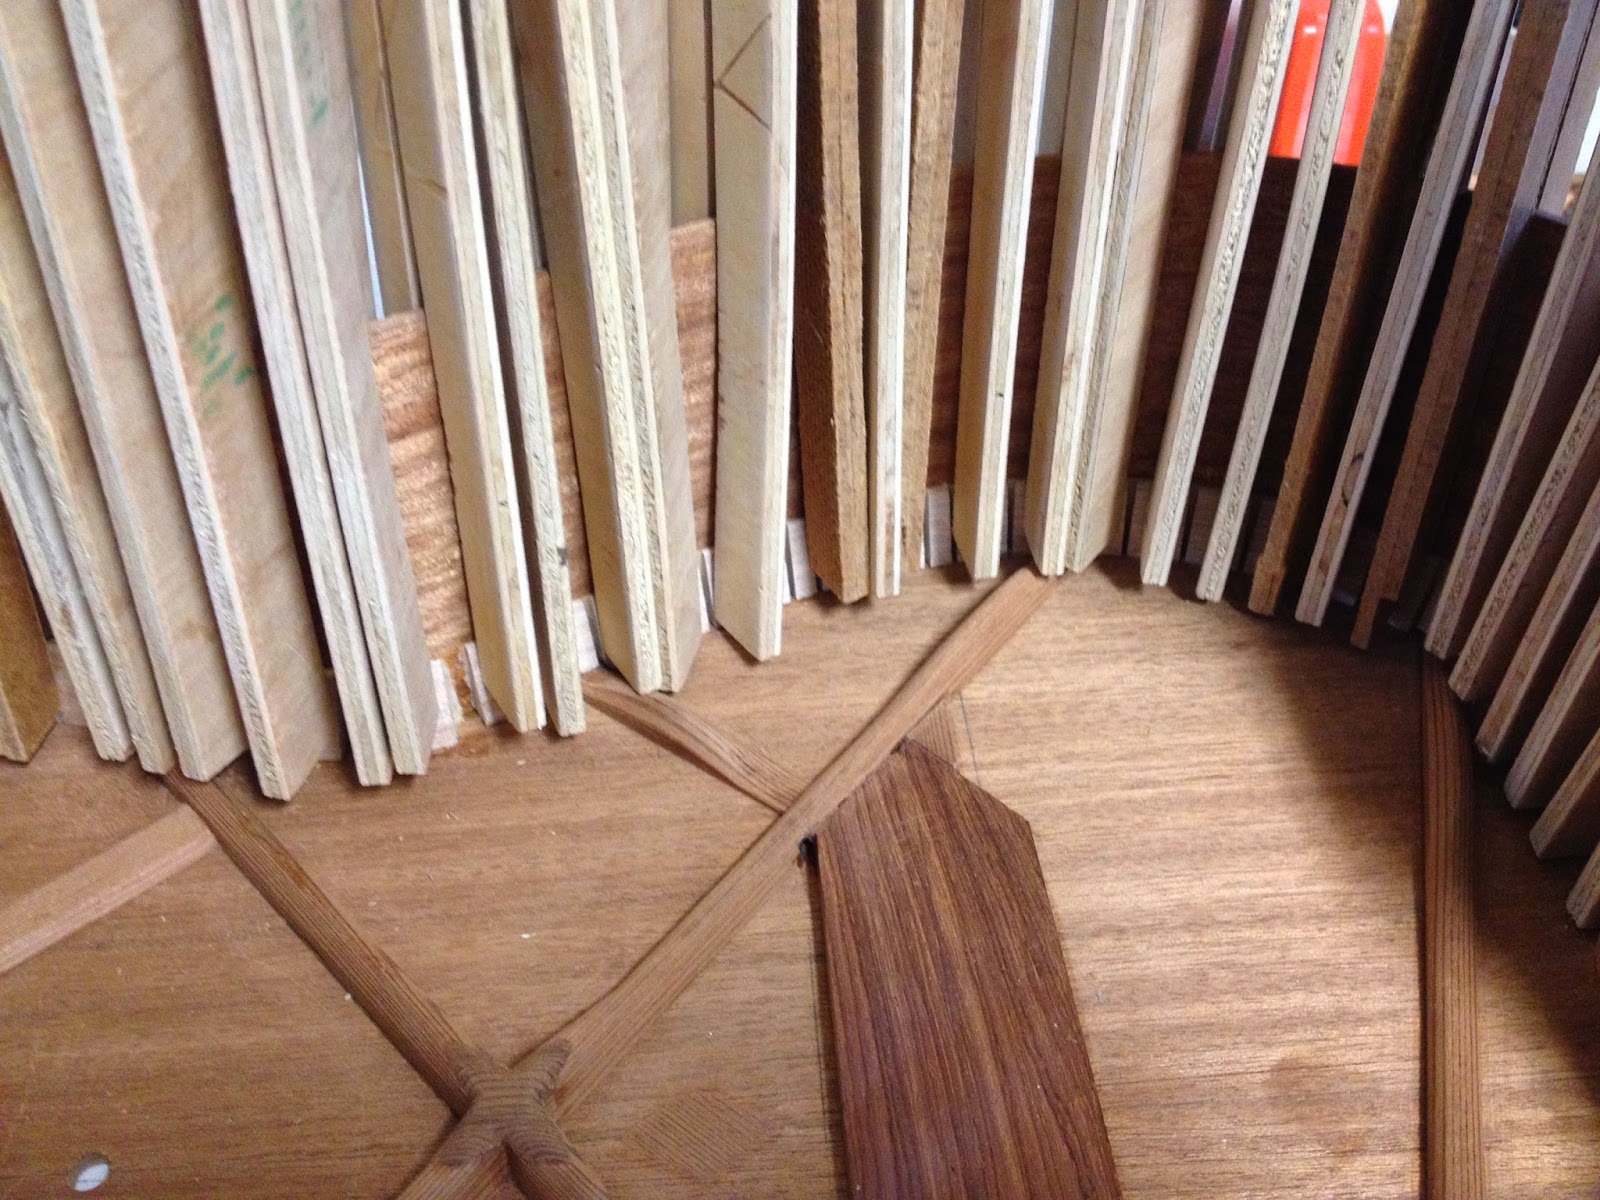
The top kerfing is clamped with clothes pins....
... and other small clamps.
Once the glue dries, I level the kerfing with the sides.
A long "flat" sanding block helps keep the sanding even across the width and provides leverage on each side.
Here's a shot of the kerfing level with the top of the sides.
Note: With the taper of the sides there was a divot at both ends of the tenor guitar, so I had to pay extra attention to leveling these sections so it blended evenly with the rest of the side profile.
Once the kerfing was leveled, the back was dry fit and instead of notching the kerfing where the back braces met the sides, I just cut the braces.
A small amount of glue around the top....
...clamped with spool clamps....
... and a handy tool for glue squeeze out is a straw....
... this makes trimming the over hang of the top and back much easier.
Next up... trim the top and back overhang and cut the sound hole.....


No comments:
Post a Comment