
Monday, May 31, 2010
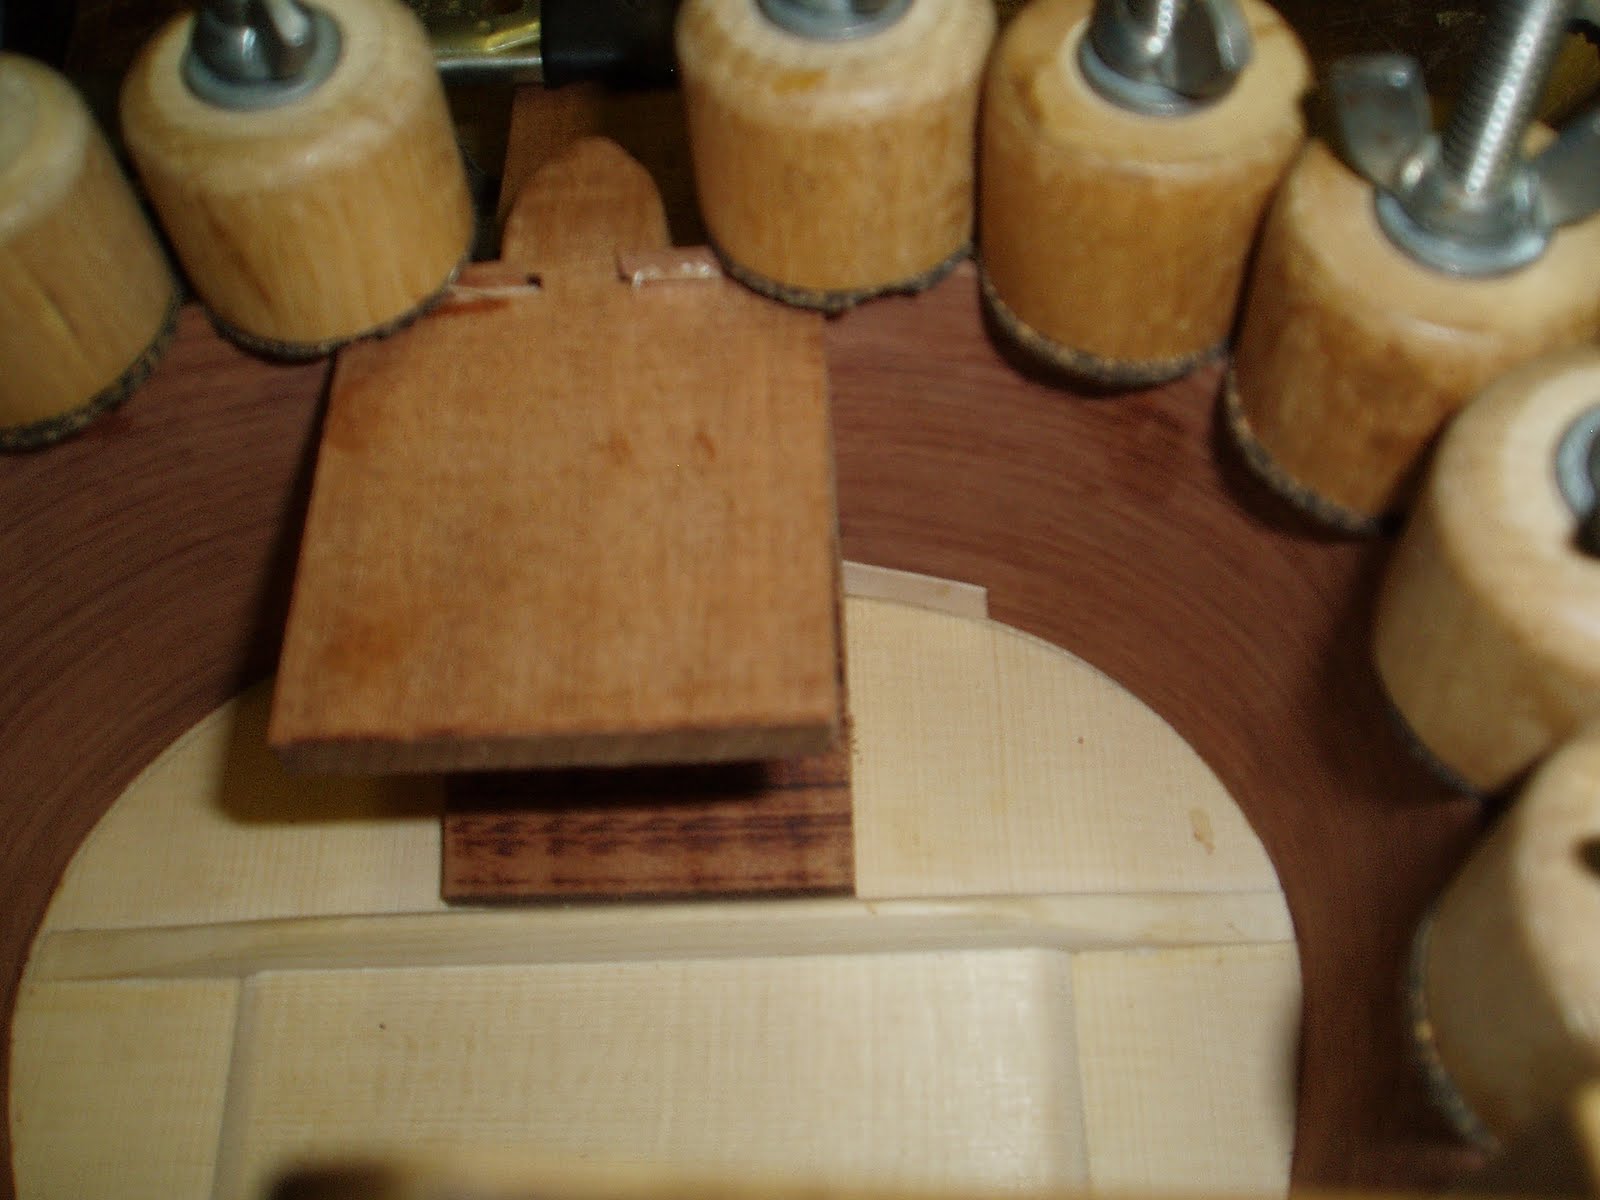
Gluing the bridge
Determine your scale length and mark where you want to place your bridge with tape. Scrape off the area where the bridge is going to be glued with a razor, then glue bridge and hold with a bridge clamp. Hold for 24 hours.


Finishing with Tru-oil - Do not rush this process.

Before you add the bridge, sand the whole 'ukulele starting at 80 grit until you get your desired thickness on the soundboard. Be sure to put some pencil marks around the whole body so you know how much material you are removing. Use the following progression of sandpaper, 80, 100, 120, 150, 180 then stop at 220.
Get a damp cloth and wipe the 'ukulele and let dry. There will be little hairs that rise when it dries, sand and repeat process at least twice until you do not feel any more wood hairs after you wipe the uke with a damp cloth.
Now you can progress to 320 and even up to 400 for a smooth finishing surface. You want to make sure that with each progression of sandpaper you remove the scratches from the last sandpaper grit.
Once you reach your desired smoothness, you are ready to add your first coat of finish.


Trimming the soundboard and back

The uke is boxed and ready to trim.
 We begin trimming the excess off the soundboard and back with a rasp and file, then finish with a router.
  When routing be careful when routing around the curved edges because the grain changes direction and you can tear out more wood then you want.
 Gluing the back

Once clamped, then uke over and mark the braces where they touch the sides. Unclamp the back then measure the thickness of the tentalones at the point where you made the mark on the back brace bars.
 When clamping the back to the sides, make sure apply even pressure around the whole uke body.
Now the 'ukulele is boxed and we are ready to trim the excess off the sound board and back.
Tuesday, May 11, 2010
Tentalones

 When gluing the top and bottom tentalones around the sides use small sections and make sure they are clamped tight around the curves.
Sand the edges of the tentalones so the are flexible. It will break in some spots but thats ok, as long as you can clamp them to the sides, it will help support your sides to your soundboard and backboard.
 Add a spare piece of wood to make the sides level with the base of the neck. Sand the inside before attaching the back to the side. Once the back in glued on, the 'ukulele is in a "boxed" "white" stage, and the only access to sand the inside will be through the soundhole.
Monday, May 10, 2010
attaching sides

Once the sides have been dry fit into neck slot and the seam at the back is tight, make 4 wedges from left over veneers and then hinge the back with tape.

After you have set the sides into the neck slot, squeeze the shimes in between to close up any gaps, then clamp the heel block.

Clamp the sides down with spool clamps and make sure the sides are touching your template line on the sound board.
Subscribe to:
Posts (Atom)

